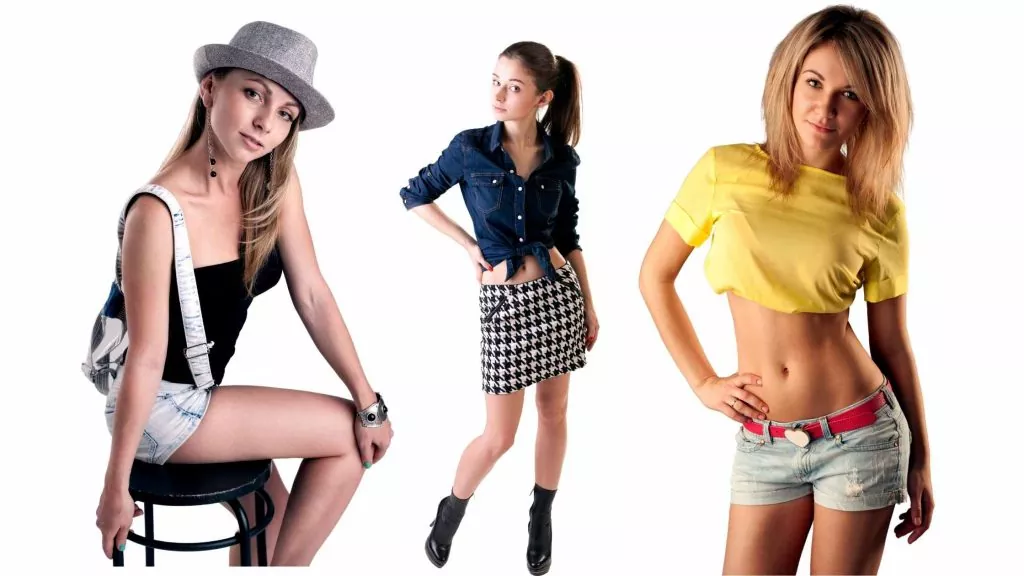
Portrait Retouching is essential in the portrait photography industry to represent an image attractively and perfectly. However, the overall process is not too easy to do without experience. Moreover, due to a lack of proper knowledge, the quality of the image may diminish. So what will you do? Are you anxious about it?
Don’t worry. The solution is here. If you follow some tips and tricks, you can efficiently perform photoshop portrait editing. So you will find your desired solution here. But before going into action, let me tell you that this photoshop retouching tutorial for beginners can also help you fix the simple mistakes you were making.
So why late? Let’s know about the details of the tips and tricks.
What is Portrait Retouching in Photoshop?
Retouching is a process through which one can improve the quality of an image. Portrait retouching is normal to use to remove the defects of images. With the help of retouching, we can remove any defects of ideas that may relate to the photo or background condition. Therefore, it is one of the vital activities of the portrait photography industry.
The overall activity by an editor who provides a portrait retouching service must have the ability to keep an eye and work on every attention to detail. Through this process, one can get the best quality photo.
Portrait photos mostly capture close shots of models’ faces and skin. And these areas are the most to attract imperfections like dark spots, acne scars, or any marks of small cuts and accidents. However, with photoshop portrait editing, you can blow away these issues with ease.
Different Types Of Photoshop Portrait Background :
The background is a critical issue of an image. It may improve or diminish the image quality. If you can’t select the perfect background, it is pretty impossible to get the best photo. Some of the best portrait backgrounds are provided here. These are:
- Background with blurred natural effects
- Background with detailed natural effects
- Seamless white background
- Background with black color &solid color
- Background having green screen etc.
Photoshop Retouching Tutorials For Beginners :
Photoshop retouching is not too complex if you have experience with it. For this purpose, tutorials play a vital role. Beginners need to join the tutorials. By participating in different photoshop retouching tutorials for beginners, you can learn from the basics of portrait retouching service. From the tutorials, they can learn about the overall process of retouching also.
Some of them are
- The process to crop images
- Addition of auto color, contrast, and tone.
- Sharpening of image
- Removal of skin blemishes, wrinkles
- Showing the skin soft and smooth
- Changing of eye and hair color
- Whitening of teeth
- Removal and changing of background
- Conversion of the color of a photo
7 Best Portrait Retouching Tips And Tricks:
To make retouching easier and effective, you should follow some tips. These will make the image more perfect and represent the image and background more appropriately.
Make the image flat.
First of all, you should make the raw image flatten. It must adjust with exposure and color temperature. Would you help if you also dulled the highlights and flat the shadow? This flattening and dullness will help you to maintain the appropriate contrast. The tonal range should remain in the mid-range of the image.
Elimination of spot and scar from skin
It is essential to retouch an image. The use of a healing brush is more effective here. It can remove the spots or any destruction of the skin properly. Even if there is any destruction in a standard background or landscape photo, it can eliminate that.
Use of clone stamp tool
Clone stamps clean the skin and background without losing the original texture. Quickly work without altering pixels. It can blend transitions without seaming. By using the clone stamp toolset, you can combine different modes.
Tool of dodging and burning
It helps to provide the image the desired shape. The curve adjustment layer is one of the best ways to dodge and burn. If you want to convert a two-dimensional image to a three-dimensional one, it is the best option. By using layer masks and brushes, you can create the effect you want.
Conversion of black and white layer
Converting the layer into black and white is one of the vital parts of photoshop portrait editing. First, you need to change the blend mode to soft light. Here you will find the image with high contrast, and drag opacity is 20 to 60%. You can also change the luminance of each color. A wide range of skin tones can be created by adjusting yellows and reds.
Adjustment layer of tuning
There are three layers available here for proper toning. Try to follow them. These are
- For shadow – Blue, magenta, cyan
- For mid-tone – Red, green, yellow
- Highlights – Yellow or red
Separation of frequency
It is an essential part of Photoshop’s face retouching to remove wrinkles properly. It allows you to separate higher frequencies from the lower ones. As a result, you can retouch the tune and color instantly. Moreover, you can smooth the skies, clothes, backdrops, or others you want.
Pro Tip: Before making any changes to your portrait images in photoshop, always create a duplicate layer from your original layer to avoid any sort of editing mistakes.
The portrait retouching is not too complex if you have a good idea about it. However, portrait images show the real beauty of a model, and photos directly out of the camera can’t showcase the full credibility of the scene. Because of that, sometimes portrait editing becomes tough, but with proper training and practice, anyone can master this technique.
Following these portrait image retouching tips and tricks will work as a cherry on the top with proper practice. These will make your retouching activity simple, more accessible, and save your time and effort.


