We all like to take pictures of our favorite moments. It can take a picture of our moments spent together with family or friends, or photos of a place we went for the first time, or images of beautiful things we have never seen before. We like to capture these things in pictures so that we don’t forget those beautiful moments.
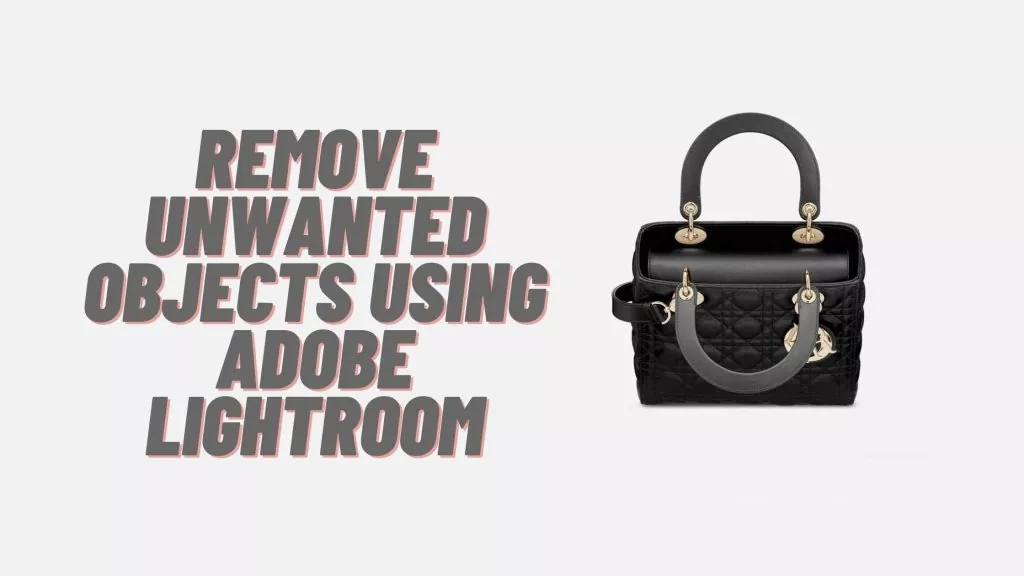
But sometimes we take pictures and do not like the background in the photos. We think that the background was making the image look bad, or it was unnecessary. And so, we wish to clear the background from the pictures to make it look more beautiful. In this article, we will learn how to remove background in Lightroom.
How to remove unwanted objects in a photo in Adobe Photoshop Lightroom
To remove the distracting objects from your favorite photos, firstly select the Healing Brush Tool. To fix it, click its icon in the column on the right or press the H key on the keyboard to fix it.
How the Healing Brush Tool works-
If you want to remove small and unwanted objects from your photos, then the brush tool is a useful tool for you. If you paint on an area, the Healing Brush Tool will automatically sample the pixels from a similar place. After that, the sampled pixels will be merged with the original pixels to hide the elements which are distracting in the photos.
After selecting the Healing Brush Tool, use the size slider, which is in the Healing Brush settings. It will make the brush tip a little larger than the object which you want to remove and make the background removal easier.
Useful info: If you cannot change the size of the brush tip using the size slider, there is another way to change it. Simply press the right square bracket key on your keyboard to increase the brush size. To decrease the brush size, press the left square bracket key on your keyboard.
Once you have adjusted the size, click on or simply drag over the unwanted object you want to remove from the picture. Lightroom will find a sample source and apply it to the distracting object to hide it. This is how you remove unwanted backgrounds in photos. Once you are done, two overlays will appear. The two overlays that show up represent the destination and the source of the healing adjustment.
What to do if not satisfied with the results?
If you are not satisfied with the results, then drag the source overlay to another area. Adobe Lightroom will resample the source overlay and apply a new adjustment to it. If you don’t see the overlays, press the O key on the keyboard. It toggles between hiding and showing the Healing Brush Tool overlays.
Useful info: Healing blends pixels with the surrounding areas, and sometimes it results in a smudge effect. Especially in areas of high contrast. If you don’t want that, then change the Healing Brush settings’ mode from heal to clone. Because the clone only copies and pastes the pixels from one area to another.
What to do if you want to delete the adjustments made?
To delete a heal or clone adjustment, select the blue pin overlay that represents the following adjustment. After that, for (Windows), press the backspace key on the keyboard, and for (macOS), press the delete key on the keyboard.
How to make background transparent:
Transparent background is another way of adjusting the background to your liking. It opens up a wide range of eye-catching display options, mainly when you are featuring products. However, you cannot make background transparent in Adobe Lightroom. If you want to remove a larger, more complex object and make transparent background, you have to use Adobe Photoshop applications to do it. Now we will learn how to make transparent background in Photoshop.
1:
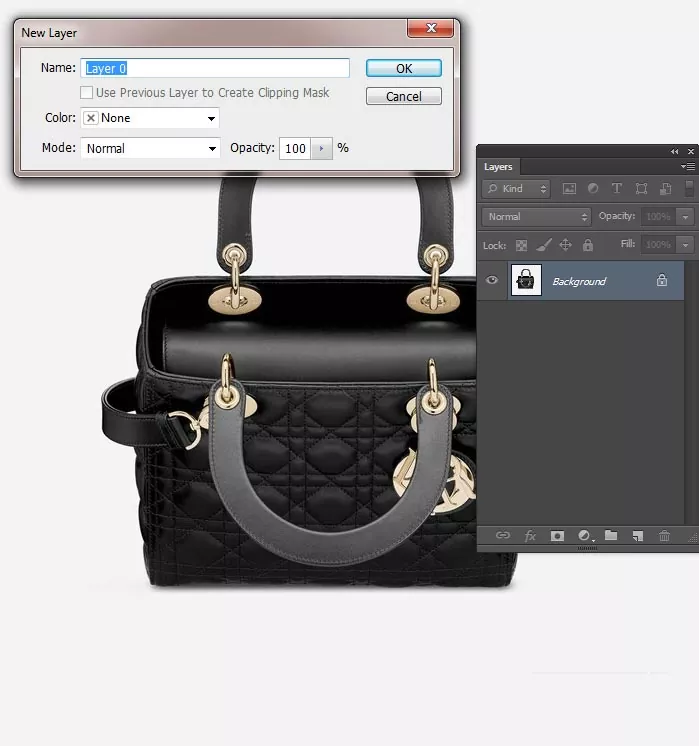
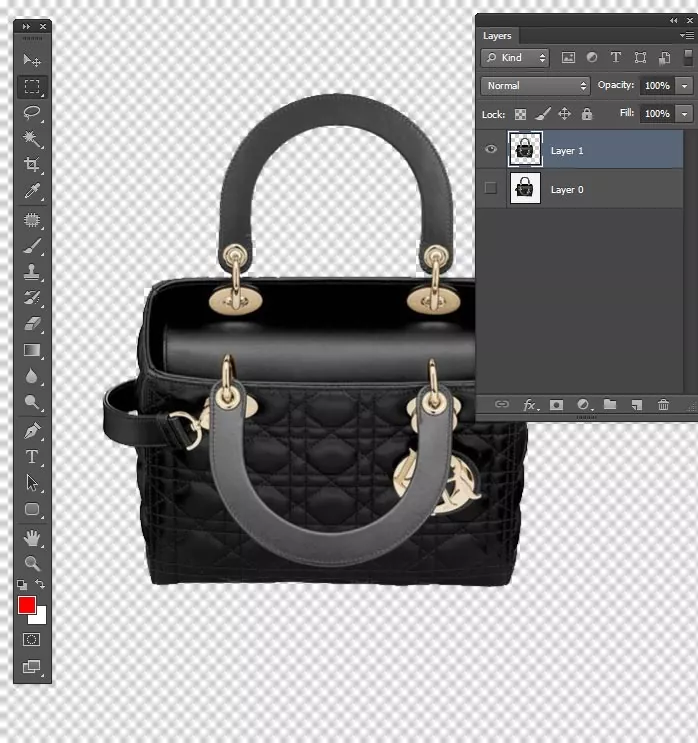
To do that, first, click the three-dot menu in the column on the right. Then choose edit in Photoshop. Your image will open up in Photoshop, most likely in JPG format. Then open the Layers panel that rests to the right of your image window by default. If you don’t see It, you can access it by clicking on Window and then Layers from the dropdown menu at the top of the application window. In the Layers panel, double-click on the Background layer. A New Layer dialog box will open and ask you to rename the layer. You can leave this as Layer 0, which is set as default, and then click OK. Now you’ve unlocked your background layer, and anything you delete from it will be transparent.
2:
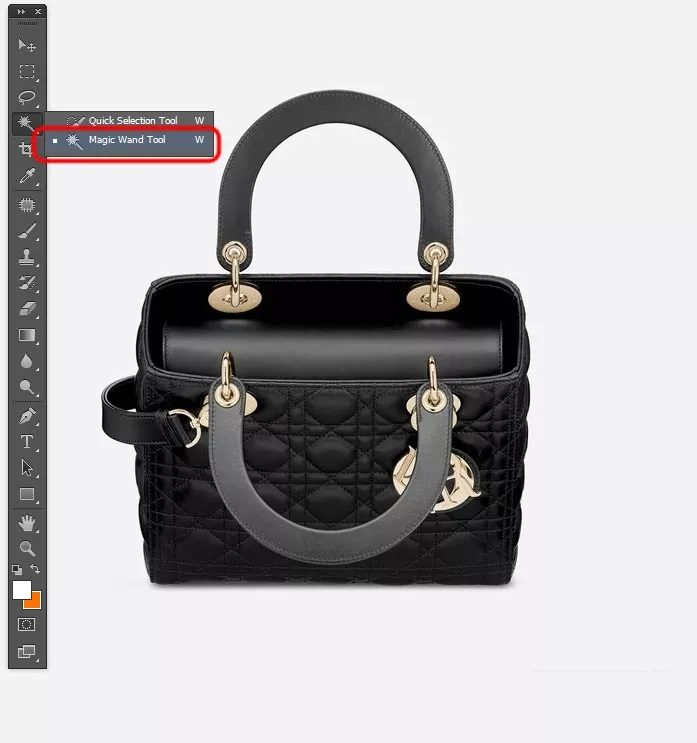
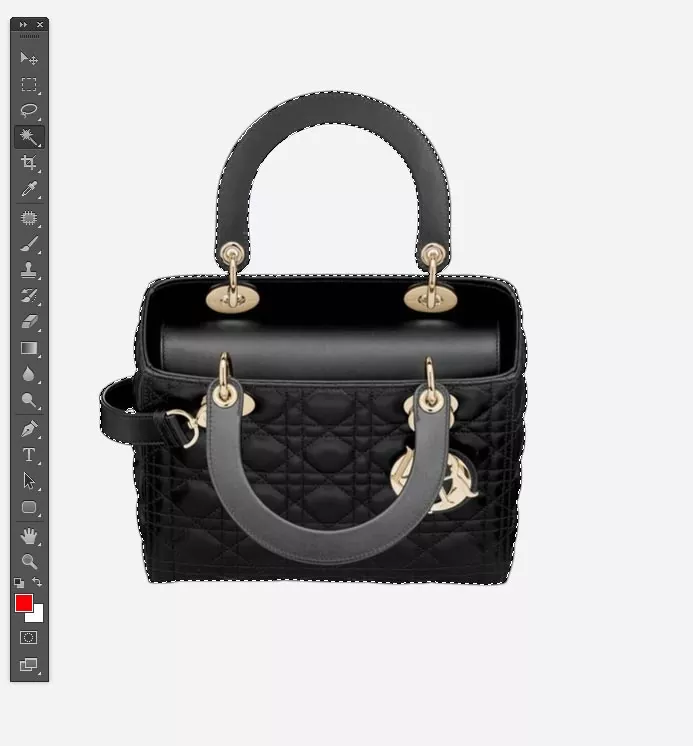
Select the Magic Wand tool from the Toolbar on the application window’s left side. Then, click on Select Subject from the Options bar at the top of the screen. Regardless of the background, the Photoshop application will attempt to select the object from your photograph. You will see marching ant surrounding the selection. If the selection isn’t perfect, you can use the Magic Wand Tool to remove more of the selection background. If you want, you can also add more to the selection, depending on the selection. When you create your selection, make sure to select any areas with holes.
3:
Once you are done making your selection, select the inverse by typing (SHIFT+CTRL+I). Suppose it’s a mac (SHIFT+COMMAND+I). Or you can choose Select and then Inverse from the dropdown menu at the top of the application window. With the inverse (background) selected, type (BACKSPACE). Type (DELETE) if it’s on a Mac. Your background will now be transparent. In Photoshop, a transparent background is represented with a white checkerboard and a gray pattern. Type (CTRL+D) to deselect your selection. Type (COMMAND+D) if it’s on a Mac.
4:
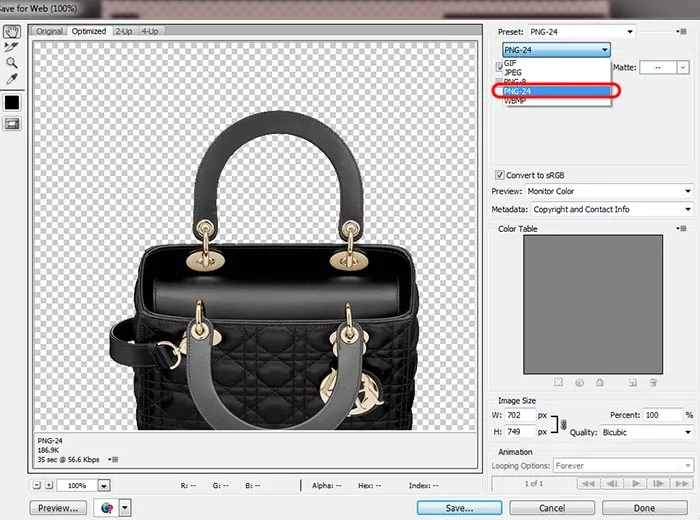
Now, you need to make sure you save your image in the correct format. The best format to save your image in is a PNG-24 format. To save your File as a PNG-24 in Photoshop, type (SHIFT+ALT+CTRL+W), and if on a mac, then type (SHIFT+OPTION+COMMAND+W). Or click File> Export > Export As from the dropdown menu at the top of the application window. A dialog box will open up. In the dialog box, under File Settings on the right side of the box, set the Format to PNG, and make sure the Transparency box is checked. Do not check the Smaller File (8-bit). This will convert the File to a PNG-8. You’ll see the predicted file size for your PNG file on the left side of the image. It is essential to keep an eye on it because larger files will make your web page load more slowly.
Step 5:
After setting the Image Size to the proper dimensions, click Export All. After that, the Save dialog box will appear. In the Save dialog box, choose the folder where you want to keep your formatted images. Now name the File and make sure its extension is set to .png. After that, click Save. Now you can place your transparent image against different backgrounds and display it correctly.
After you’re done with transparent Photoshop’s remove background, click on File and then Save to save an edited copy of the photo back to Lightroom
FAQs:
- I can’t see the export as an option. What do I do?
Answer: If you’re using an older version of the Photoshop application and don’t see the export As an option, you can choose to Save for Web and then select PNG-24 from the preset dropdown menu on the right side of the dialog box. After that, follow the rest of the mentioned instructions.