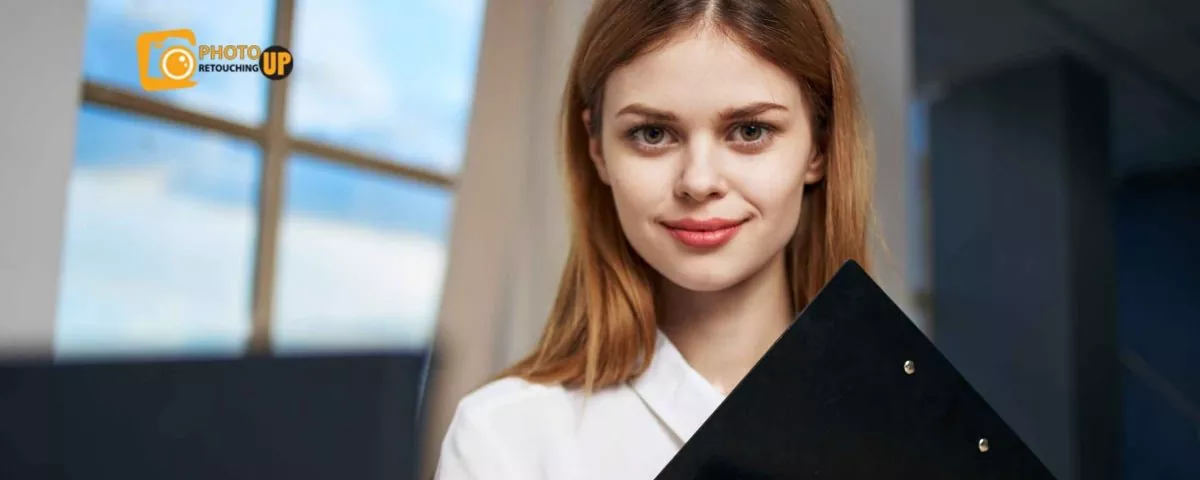
Most photographers are not well known for headshot photo retouch services. Well, if you also think about that, what does headshot photo retouching mean? Then keep with us through reading the article below.
This retouching service will provide you with the skill of editing headshots in Photoshop. You can work more professionally by applying retouching services in Photoshop also. It works like a tool that can help you change the photo background, color testing, helps to develop the photo grade, give the facility to face or body shapes easily.
Through retouching headshots in Photoshop, you can create even more realistic photos than other graphics tools. If you want to know about advanced retouching in Photoshop, please be with us till the end of this article.
What is headshot retouching?
Photoshop means image editing. Headset retouching is about enhancing the beauty of photos with image editing software. Retouching works are going through the process of good
Beautification. The tools are used through the beautification flag and downloaded to enhance the natural beauty of the face. The headset in Photoshop is retouched by mixing the shortcut sleeping mask and the adjustment layer.
What is headshot retouching NYC?
Here Headshot retouch NYC means the headshot retouch services of New work city. Yeah, there are huge ranges and varieties for headshot retouching services in new work. They provide services to make your headshot even better than the visual photo you have.
You want to know what the cost of headshot retouching is in NYC. Then let me inform you the non-professional retoucher can charge around $50-$100 for your headshot retouch. Besides, the professionals can take up to $550-$650 instantly. So there is a considerable difference between the services of professionals and beginners.
Headshot retouching in Photoshop:
Headshot photo Retouch works best for those who make portraits. To edit or give a stunning look in portrait retouching headshot works well in Photoshop. It works best, especially for beginners to beautify their image in Photoshop. There are some basic steps to follow to Headshot retouching in Photoshop.
We all know how Photoshop is used to give your creations a more artistic look. Including the headshot retouching plugin in Photoshop can give you extra hand-free tools to keep the details in your work. A lot of professional photo editors now also use retouching services to specify their works.
There are lots of video tutorials where you will get all the directions of using these services. But it will be your wise thoughts on how you will make the headshot retouching in Photoshop.
How to retouch a headshot?
Headshot Retouching in Photoshop is a beautiful upgrading measure that you can use from an ideal standpoint. A couple of steps you need to follow to get a lively tone with cleaning the pollution. You can re-appropriate Portrait Retouching Services from others.
Be that as it may, if you consider doing it without anyone else’s help, this instructional exercise is for you. So go through the entire substance and don’t skirt any part on the off chance you need to learn well.
Incidentally, If you are an expert planner, this isn’t for you. Along these lines, this instructional exercise gives an essential thought for the individuals at the learning level. We should start.
The Steps of Headshot Retouching in Photoshop:
Headshot Retouching in Photoshop is a post-preparing picture activity. Thus, it would be best if you did this after taking photos. Therefore, we have partitioned the entire methodology into specific means. Nonetheless, it would help if you did not have to utilize every one of them in a similar picture. Along these lines, don’t burn through your time attempting all of them. Instead, attempt to use the means that are genuinely required.
Step 1: Brightness and Contrast
The first step of headshot retouching in Photoshop is to adjust the brightness and contrast.
Step 2: Spot and Impurities Removal
Now select the spot healing brush tool from the toolbar. Zoom in to the image and find the spots, dust and wrinkles on the model’s face. Use the tool on the faulty areas, and Photoshop will fix them and make the skin fresh.
Step 3: Frequency Separation
Make two duplicate layers of your original layer by pressing Ctrl+j on the keyboard. Now go to Filter > Blur > Gaussian Blur and adjust the radius according to your need.
Set the layer blend mode to Linear Light and go to Filter > Other > High Pass. Adjust the radius, and the frequency separation is done.
Step 4: Patching
If you click on it for a little longer from the healing brush tool menu, a side menu will open. From there, you need to select the patch tool. Then, use the patch tool to bring perfection to your headshot.
Step 5: Healing
In this step, we will use the healing brush tool from the toolbar again. Select the Healing Brush Tool and find the area where healing is required. Use the tool on those areas, and Photoshop will automatically detect the problem then fix it.
Step 6: Color Lookup
This final step will bring a natural color tone into our headshot image using the Color Lookup table. You will find the table in the Properties panel. Find the table and adjust the color to finish the headshot retouching.
Professional skin retouching in Photoshop
The retouching cycle can be long and convoluted. Evading and consuming, shading, honing, and flaw expulsion are exceedingly significant pieces of the altar. So, where do you begin? First, I walk you through a total delight representation modification while showing you each progression, inside and out.
You can unquestionably attempt different photo retouching/rebuilding methods without help from anyone else. However, if the result is truly significant for you, it would be a superior plan to enlist professional photograph-altering specialist organizations. Who has practical experience in photograph correcting administrations, including old photograph fix and reclamation administrations? So this is all about headset photo retouch. I hope you like reading this.