
Transparent background is an inescapable altering strategy in Photoshop. Photoshop is the general usable device to eliminate the foundation of a picture.
When utilizing a transparent background for item photographs opens up a tremendous scope of eye-catching pictures. After, the result of the photographs has an exquisite look in those photographs.
Here is the guide about how to make a transparent background in photoshop step by step.
Initial step: Use the photographs in the layered document:
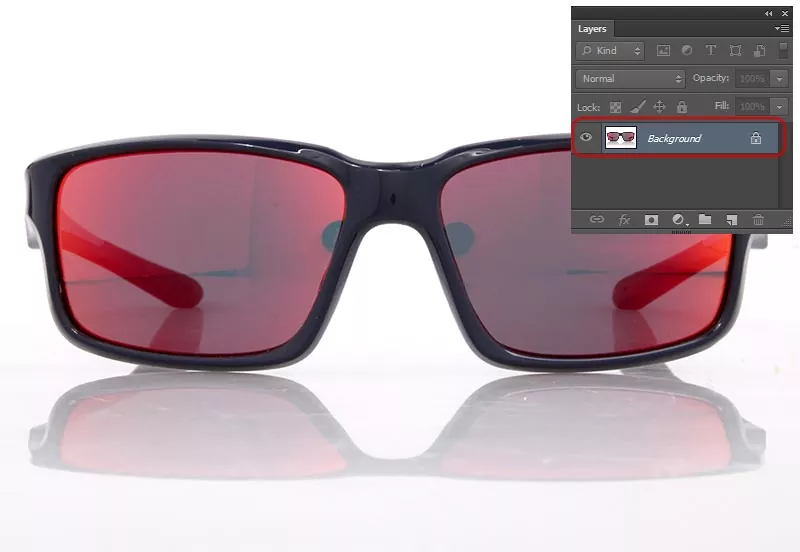
Open the picture of the item in Photoshop. Discover layers board in Adobe Photoshop. Like this, the board stays on the privilege of the side of the photograph’s window. If it was not there, discover it by click on the window. At that point, explore the layers area from the menu bar. This was at the highest point in the window of Photoshop.

In the layer board region, there is a background layer. Snap the foundation layer twice. It will spring up another layer exchange box. At that point, it will request to rename the layer. Name it as you like, or don’t change the name. At that point, the name will be default layer 0. From that point onward, save it and snap alright.
Consequently, the background layer is opened, and photograph editors can erase anything from the photograph.
Second step: Select background from the photographs:
In Photoshop, there are multiple editing tools that you can use for selecting the background. Most of the Photoshop selection tools are easy to use and you don’t need to be an expert to use them. Let’s see which the best selection tool in Photoshop are:
The Quick Selection Tool
The Object Selection Tool
Select & Mask Tool
Pen Tool
Magic Wand Tool
From the above selection tools you will need to be an expert to use the pen tool but other than that others tool are relatively easy and quick to use them. All of them does the same thing in a different way but the accuracy and way of use what makes them existing in the Photoshop together.
If I have to compare all the selection tools only based on their accuracy then pen tool will get the highest point as it is the only detail manual selection process where you can create paths around the object using multiple anchor points. To master pen tool you have to learn and practice to get an accurate cut but for the other tools the selection process is automatic. You only select the tool, select the area and Photoshop will select that automatically.
The catch of automatic selection is you don’t get perfect selection right away and sometimes for complex edges you don’t get accurate selection ever. In the latest version of Adobe Photoshop CC 2021, the tools are more capable then few years back. I will show the use of two selection tool in this tutorial but not all of them because then the article will become a long boring journey to you guys.
The Quick Selection Tool
As the name suggest this is the fastest tool to select the subject. You will find it in left toolbar in Photoshop. All you need to do is select the tool and drag the cursor over the subject and the subject will get the selection. Yes, it’s that easy to use and now you just need to zoom in and see if there are any edges that the tool misses and fix that.
The Magic Wand Tool
Utilize the apparatus called wizardry wand instruments. You can discover this device on the left side. Presently find the alternatives bar on Photoshop. When seeing it at that point, look for a select subject and snap it. This will assist with choosing the item from the picture. Henceforth, the foundation will be discrete from the object of the image.
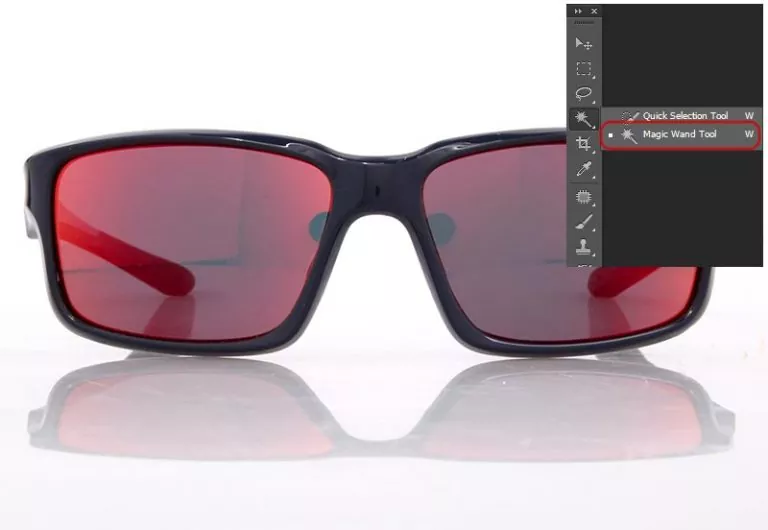
When a choice isn’t adequate, the Magic Wand apparatus will help eliminate the region’s scenery. Subsequently, realistic editors can add a greater amount of the item for determination and relies upon how the choice will be.
Third step: Erase the foundation:
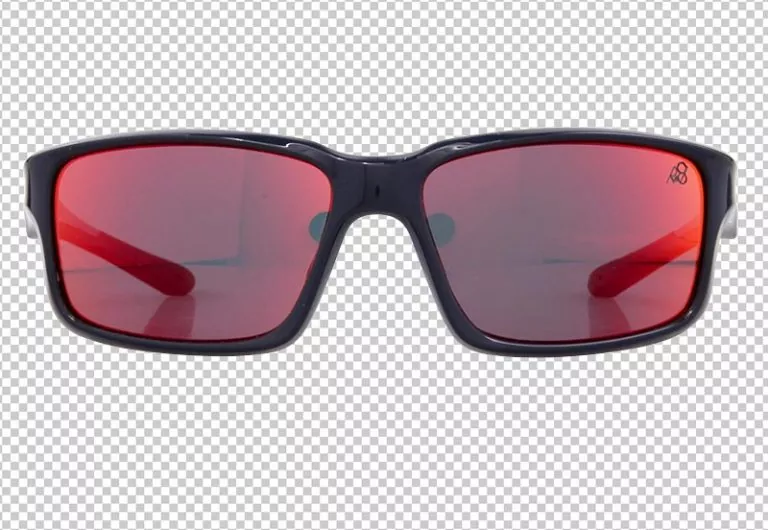
In the above advance, there you select the item. At that point, search the backward after composing SHIFT+CTRL+I. This choice is accessible in the Select board. When you click with the mouse button, there is an opposite alternative at the menu.

After the determination of the reverse foundation, click the BACKSPACE. You will have a transparent bg. Along these lines, a straightforward foundation will show up in the image with the dark and whiteboard, which resembles a chessboard design.
Fourth step: Web-prepared arrangement for saving the photographs:
Making the background transparent is the initial stage of Photoshop. The editors of Photoshop need to sure that they save the result of the picture wrong configuration. Since then, it will not be challenging to use on the site of web-based business items.
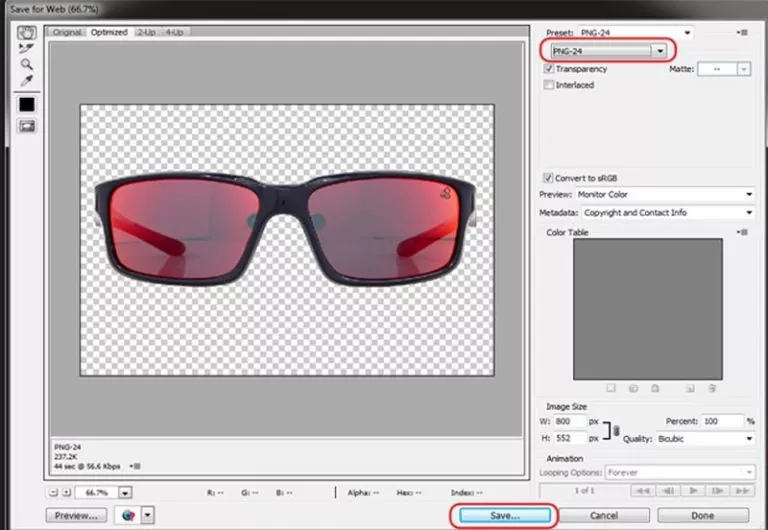
PNG-24 is the best organization for saving the picture. The advantage of this organization is a ton, like the straightforwardness of various layers. Pixelated “radiance” won’t be made in an alternate shading background when the PNG-24 organization is utilized.
There are some console steps to save the document in the PNG-24 configuration. Along these lines, press SHIFT, at that point ALT. Likewise, CTRL and W. every one of these catches press together. Notwithstanding, another route is to open the document alternative and export it to the Export As.
Final step: Now save the document as. PNG
This progression is the last. The above cycle will uphold building up the Photo Size with fitting profundity. At that point, discover the catch called export All and snap it.
Subsequent stage, there will be an exchange box. In the container, editors will discover the choice to pick an organizer. In their editors can keep the photographs of the items for the site, any case, this will assist with isolating the first picture and the site’s altered picture. Also, this will determine disarray when transferring to the locales. Finally, save the picture record with the .png name.