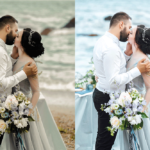
Nowadays, a photographer means multidisciplinary specialists. They are experts in capturing captivating shots and skills and knowledge on different software for different types of postproduction and portrait picture editing techniques.
Although the long-standing debate on these subjects is far from over, despite the hatred of some photographers who feel that these techniques ruin the art of photography as a whole, these techniques are helpful and, particularly in some technical fields, the necessary.
Adobe Photoshop, a powerful tool that includes features similar to those used to manipulate a shot in the darkroom is the most used program in this area.
We are now introducing ten techniques of retouching, portrait picture editing for postproduction.
Flap the Image Into RAW
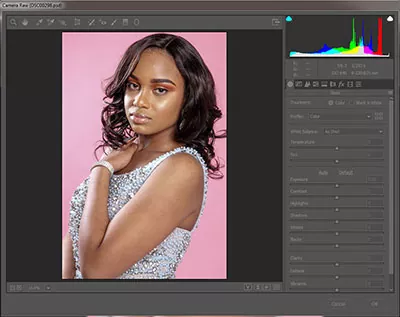
We must start from the foundations when it comes to building a house: this step is the basis for any subsequent elaboration. By opening our files Raw through Adobe Camera Raw Photoshop integrated plugin, we first change exposure and Color temperature, if necessary. Then we go to work on Shadows and Highlights. However, to hold on average values, to get an image that entirely washed out at this stage, with little contrast and certainly unattractive; however, it will be an excellent basis for subsequent manipulations in Photoshop will offer contrast and the final appearance we strive. Too much variation applied at this point will detriment our portrait picture editing development.
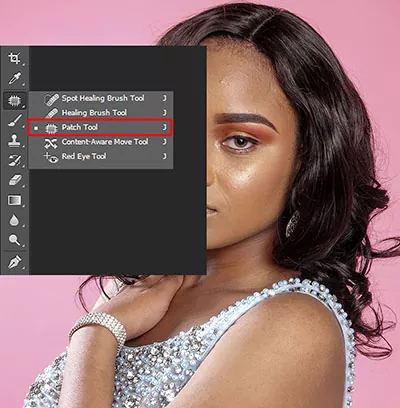
Apply the Patch Brush
Although not the most immediate and automated tool of its working group, the Corrective Brush tool allows us to select the origin points to modify the image, giving us more control. This brush helps us handle better small pimples, skin imperfections, background errors, etc. Still, its use is not limited to the portrait: we can also use it on landscape photographs, for example, to eliminate distracting elements and enhance our shot without being too invasive. Details make a difference!
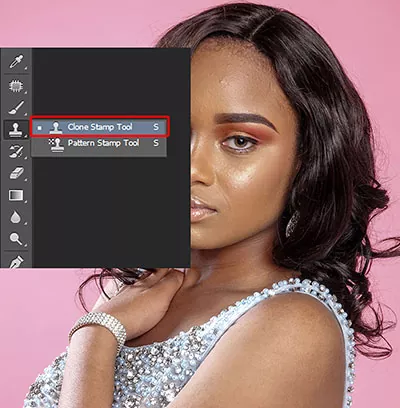
Using The Lighten Or Darken Blend Mode For Clone Stamp
Using Clone Stamp, a potent tool, a bit specific in this case. We can set a low opacity and work on areas without too many details. This is important above all in shots with natural light; the goal is to lighten or obscure these areas or work slowly to make transitions between areas without subtle details.
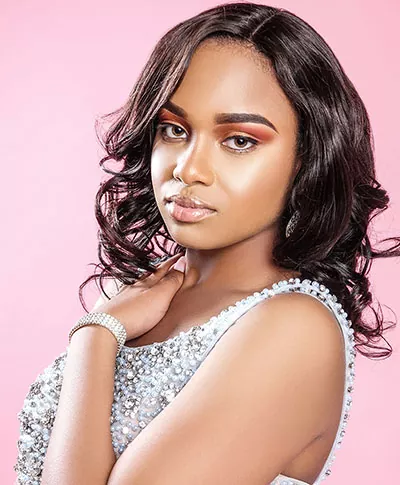
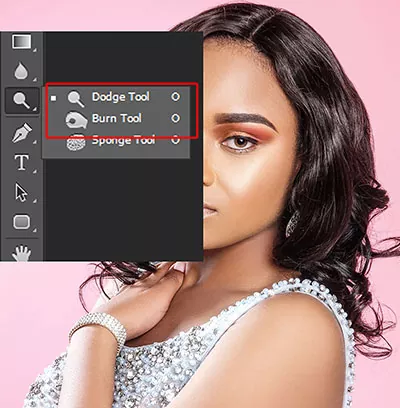
Know-How To Do Dodge & Burn
These advanced techniques are beneficial as they allow us to model the shot’s light, emphasizing areas more in light or shadow “shielding” and “burning” as in a dark room.
Indeed, there are many ways to put them into practice. The important thing is to always act non-destructively on the shot. For example, by using different levels of adjustment, separating them by contrast and exposition. Working on different levels in conjunction with the level masks enables us to achieve a high level of control by brushing on specific areas or using the tools Dodge and Burn.
Black And White Standard With Fusion Process Soft Light
A simple but effective and flexible technique: create a degree of Black and White adjustment on the image, change the blending method to Soft Light, then adjust the layer.’
- Create to control the amount of contrast on the image.
- Changeanks to the newly added adjustment.
- Adjusts, this expedient will also allow us to maintain control over the luminance.
Of the individual colors, we are obtaining excellent results on skin tones fundamental in portrait!.
Using The Change Rates Color Balance, Hue And Hue / Saturation
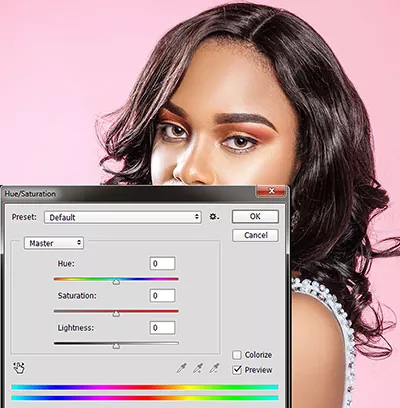
We may apply this sequence of adjustments on separate layers after the method employed above. We will work by adding different colors to the halftones, highlights, and shadows. Always bear in mind the principle of Color to produce more natural and practical colors. So we start with the Tonal Values, where we can change the contrasts. We experiment with how to apply cold colors to the shadows for a more dramatic feel. To obtain uniformity or continue playing with our style, we can then interfere globally on the values of each color with the Hue / Saturation adjustment stage.
Limit Corner Highlights
By adjusting the Curve level, we can add contrast by creating the classic S- shape. For example, bringing down the first half of the diagonal and up the second half. To act on the highlights, for example, to restrict them to a portrait in a High Key type, we can go to work on the point at the top right and drag it down slightly, adding another point below it and thus controlling the global impact of this area.
Using Masks On The Ground
While often misunderstood, often relevant advice is to handle the level masks better. The effects that we want to add to the picture need not always be global. For example, even when retouching a portrait, We may want to behave differently on the skin in different areas of the body. It is also in various colors. By acting on adjustment rates, combined with level masks to modify the area affected by the changes. We can, for example, standardize the Color globally; more useful distinction can be made between subject and context, to interfere separately on the different contents.
Use Different Methods Of Blending
Another valid measure that allows us to have impactful results is to change the blending mode of the levels. We can apply to our images for adjustment. For example, we can limit the effect on image saturation by setting a Curve level on the Brightness mode. We can work only in contrast.
Another example can be the targeted intervention on Color. We can create a new layer, and brushing the color of our choice. On a given area: then changing the mode Color, we’ll mix the two levels more homogeneously. Then using opacity controls and the level mentioned above masks can be refined.

